Top 10 Tips for Successful DIY Chrome Plating at Home
DIY chrome plating has become an increasingly popular pastime for hobbyists and enthusiasts looking to achieve a professional finish on various objects. The allure of transforming everyday items with the sleek, reflective look of chrome is undeniable. However, embarking on a DIY chrome plating project can be daunting, and it's crucial to understand the techniques and materials required for success. According to renowned materials engineer Dr. David Tran, "A well-executed DIY chrome plating project can drastically improve both the aesthetics and durability of a surface."
As with any do-it-yourself endeavor, preparation and knowledge are key. The right approach can turn a challenging task into a rewarding experience, allowing individuals to explore their creativity and refine their skills. In this article, we'll share the top ten tips for successful DIY chrome plating at home, ensuring that your projects not only meet your expectations but also reflect a high level of craftsmanship. By following these guidelines, you'll be equipped to tackle your plating projects with confidence and achieve stunning results right in your own workshop.

Understanding the Basics of Chrome Plating and Its Benefits
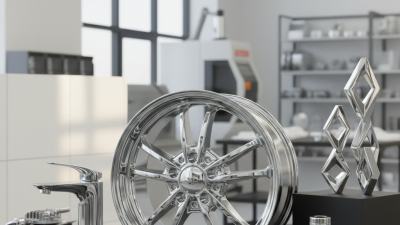
Chrome plating, also known as chrome coating, is a finishing process that enhances the surface properties of metals and other materials. This technique involves applying a layer of chromium to create a decorative and protective finish. The benefits of chrome plating are substantial; it not only imparts an aesthetically pleasing mirror-like appearance but also significantly increases the material's resistance to corrosion, wear, and tarnishing. According to a report by the Global Chrome Plating Market Research, the demand for chrome plating is expected to grow at a CAGR of around 5.6% from 2021 to 2028, driven by its applications in automotive, aerospace, and various industrial sectors.
The basics of chrome plating involve understanding the underlying chemistry and equipment required for the process. At the core of successful DIY chrome plating is the electroplating principle, where a metal substrate is submerged in a solution containing chromium salts. A direct current is then applied, allowing the chromium ions to deposit onto the substrate. This method can lead to excellent adhesion and even coverage when performed correctly. Safety is crucial; using proper ventilation and personal protective equipment is essential to manage the hazardous chemicals involved in the plating process. As DIY enthusiasts dive into chrome plating projects, recognizing these foundational aspects can ensure both safety and success in achieving high-quality results.
Understanding the Benefits of Chrome Plating
Essential Tools and Materials Needed for DIY Chrome Plating
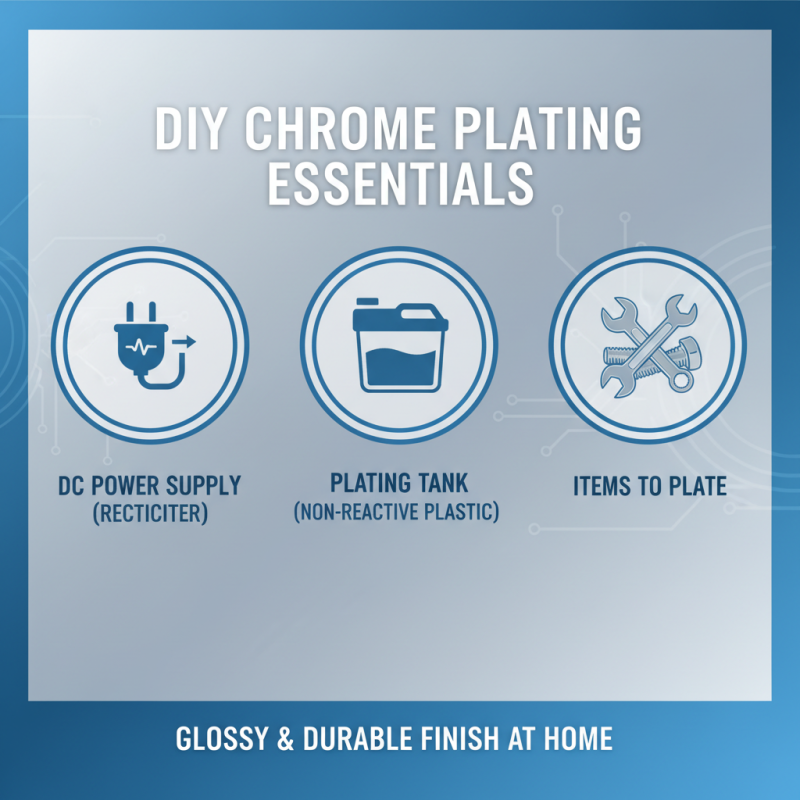
When embarking on a DIY chrome plating project at home, having the right tools and materials is crucial for achieving a glossy and durable finish. First and foremost, you will need a power supply suitable for electroplating, which typically includes a rectifier to convert AC to DC current. A reliable rectifier will ensure consistent plating results and help prevent fluctuations in the process. Additionally, a plating tank made from a non-reactive material, such as plastic, is necessary to hold the plating solution. This tank should be large enough to accommodate the items you want to chrome plate.
In terms of materials, the primary component needed is a chrome plating solution, which usually contains chromium salts that facilitate the electroplating process. You'll also need an anode—typically made of lead or stainless steel—to complete the circuit during plating. Safety equipment, such as gloves, goggles, and a mask, is essential for protecting yourself from harmful chemicals involved in the process. Furthermore, abrasive materials for surface preparation, such as sandpaper or polishing pads, are crucial in ensuring your objects have a smooth finish before plating. Collecting these tools and materials will set you on the right path to successfully execute your DIY chrome plating project.
Step-by-Step Process for Preparing Items for Chrome Plating
When preparing items for DIY chrome plating at home, the first step is to ensure that the surface to be plated is impeccably clean. Remove any existing paint, rust, or contaminants by using a suitable abrasive cleaner or sandpaper. This step is crucial because imperfections on the surface can lead to poor adhesion and an uneven finish.
Once the items are cleaned, it’s essential to thoroughly rinse them with water to remove any residues from the cleaning agents. After rinsing, allow the items to dry completely before proceeding to the next step. Applying a primer or conductive paint can also enhance the plating process by providing a better base for the chrome to adhere to.
One of the most important tips for successful DIY chrome plating is to maintain proper safety measures. Always wear protective gear such as gloves and goggles since the chemicals and solutions used can be hazardous. Adequate ventilation is also necessary to ensure that harmful vapors do not accumulate in your workspace. Lastly, be patient during the plating process; taking your time can significantly improve the overall quality of your chrome finish.
Safety Precautions and Best Practices for DIY Chrome Plating
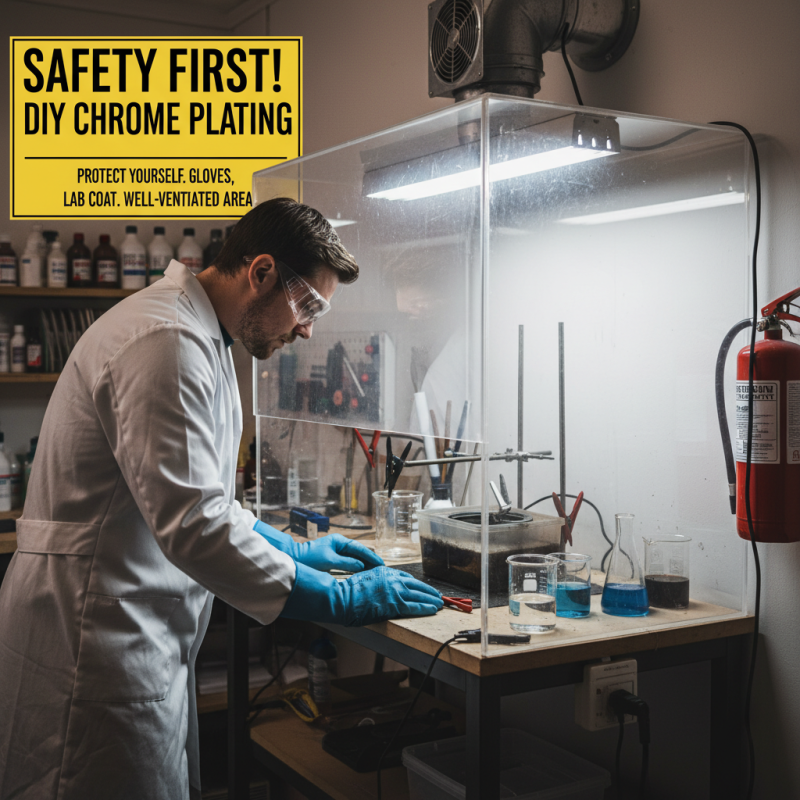
When engaging in DIY chrome plating, safety should be your top priority. Before starting the process, ensure you have the proper personal protective equipment (PPE), including gloves, goggles, and a lab coat. These items will protect you from harmful chemicals that can cause skin irritation or damage to your eyes. It is also advisable to work in a well-ventilated area or utilize a fume hood to avoid inhaling toxic fumes that may be released during the plating process. Ensure that you keep a fire extinguisher nearby, especially because some of the chemicals used are flammable.
In addition to the right safety gear, familiarize yourself with the proper handling and disposal of the chemicals involved in chrome plating. Always read the Material Safety Data Sheets (MSDS) for the substances you are using to understand their hazards and how to manage spills or accidents. Having a clear plan for waste disposal is crucial, as improperly discarded chemicals can pose a significant environmental hazard. By following these safety precautions and best practices, you can ensure a safer and more successful DIY chrome plating experience at home.
Common Challenges and Solutions in Home Chrome Plating Projects
One of the most significant challenges in home chrome plating is
achieving proper adhesion of the chrome layer to the substrate. This often occurs when the surface preparation is inadequate.
To ensure a successful bond, it is crucial to clean and polish the item thoroughly,
removing any grime, oil, or oxidation that may interfere with the plating process.
Sandblasting or using a fine-grit sandpaper can help create a rough surface, which improves mechanical adhesion.
Additionally, employing a suitable primer designed for metal can enhance the bond, ensuring a more durable finish.
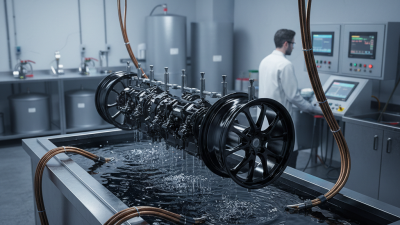
Another common issue faced in DIY chrome plating is the consistency of the chrome layer.
Uneven coating can result from fluctuations in the current supplied to the plating bath or incorrect plating solution concentrations.
Maintaining a steady and appropriate current density is essential for achieving even layers.
It is also beneficial to regularly monitor the temperature and pH levels of the plating solution, making adjustments as needed.
Lastly, practice patience, as multiple thin layers tend to yield better results than one thick coat, helping to avoid drips or runs.